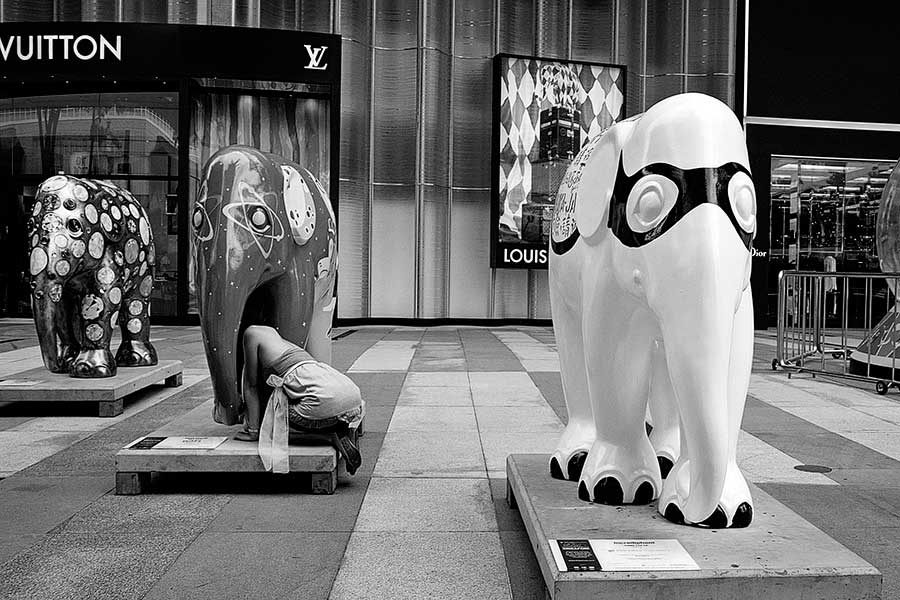
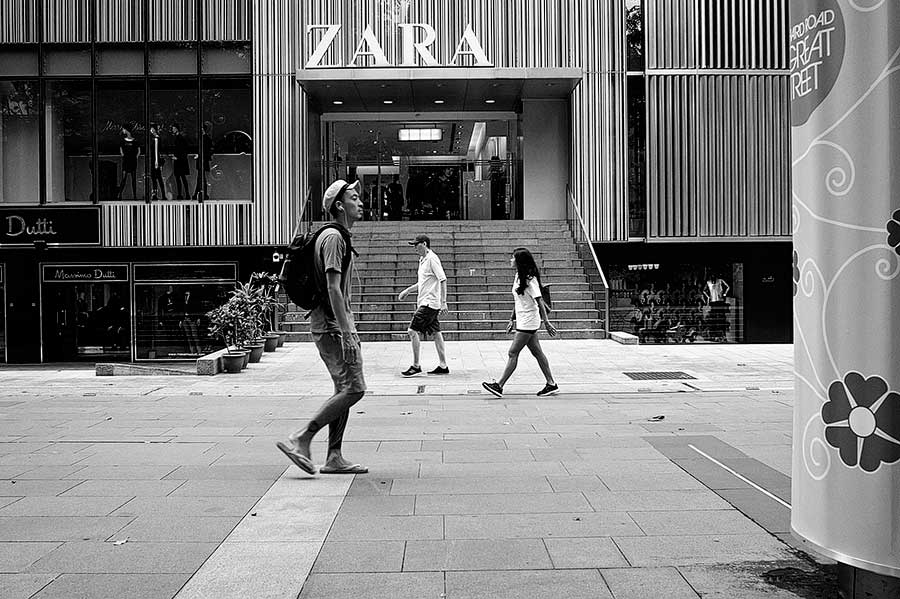
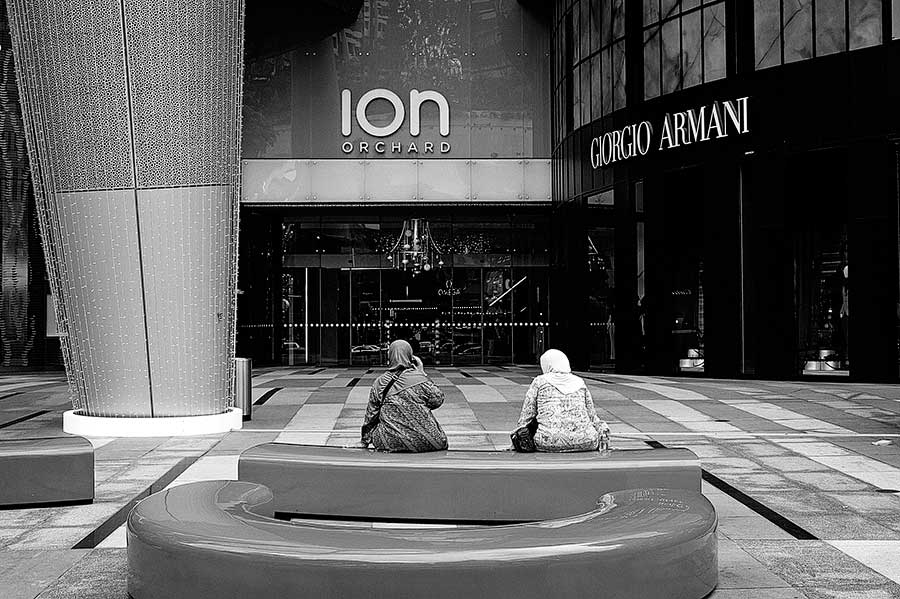
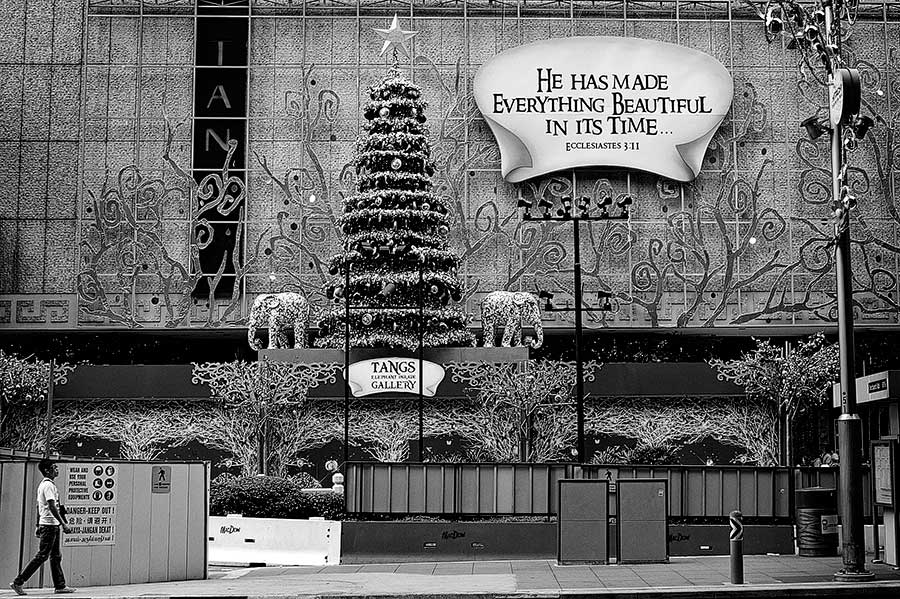
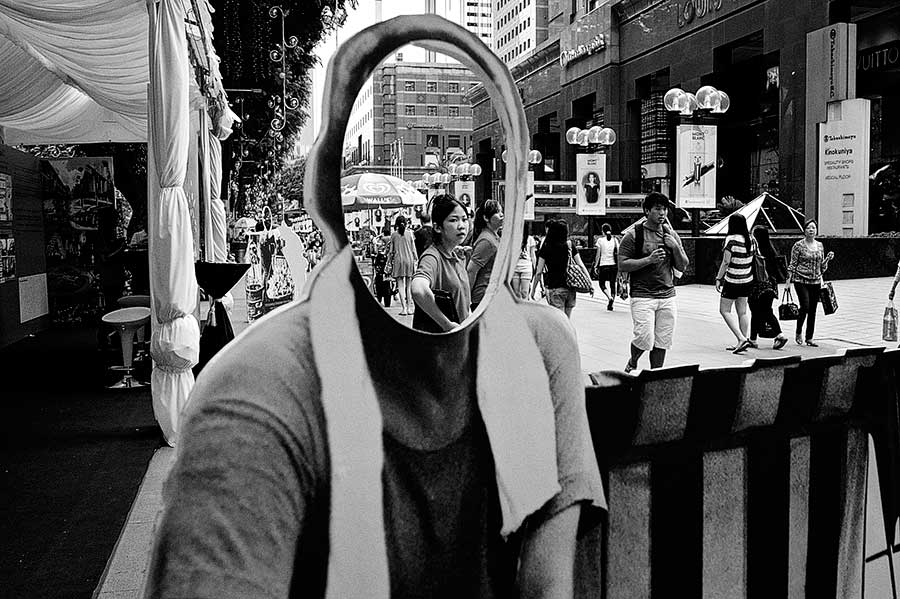
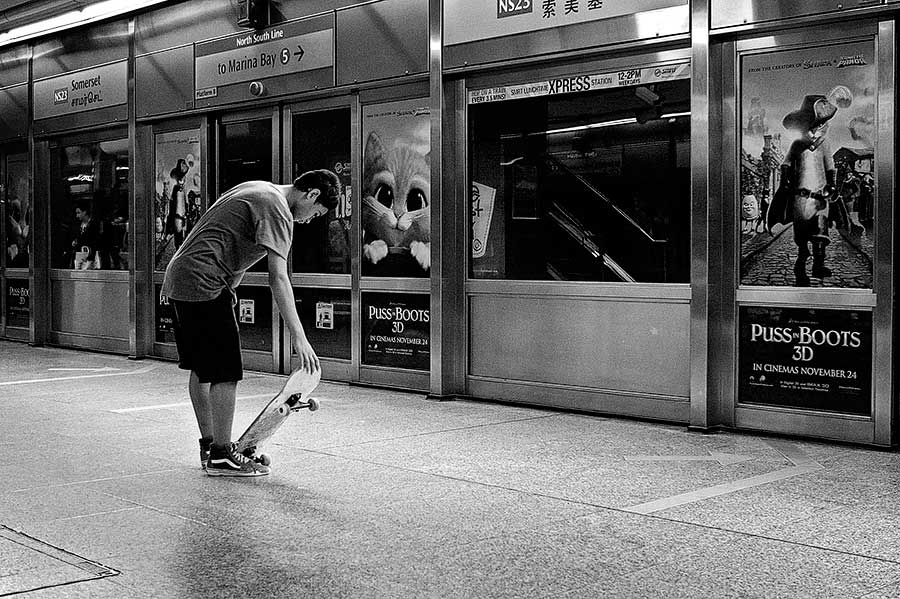
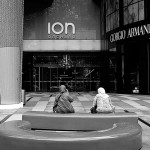
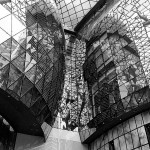
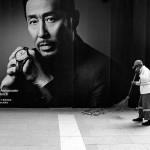
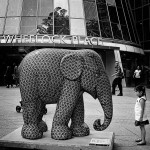
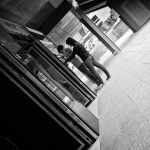
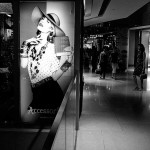
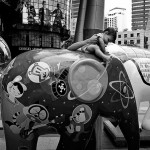
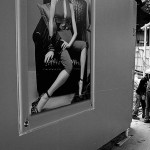
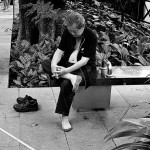
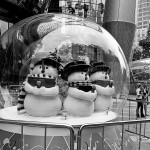
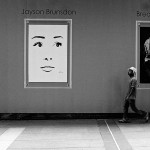
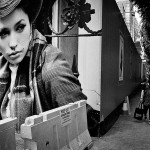
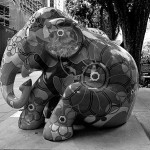
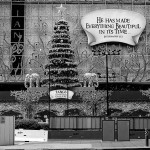
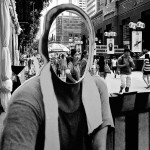
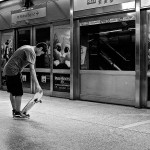
This is a follow-up to the Fuji X10 Initial Impressions post I recently wrote. This post focuses on using the Fuji X10 for street photography. I quite enjoy the discipline of street photography. It is always an interesting exercise to wander around and hunt out interesting photographs in the midst of all the clutter, chaos, and the ever changing ebb and flow of people on the streets. It is a wonderful feeling to notice something out of the ordinary, envision what is the best composition and moment, position myself to get the desired composition, and take the photograph. Normally, all this happens within a split second and for me, the chance of success is on the low side. But if everything does come together at the moment I press the shutter button, the final result is always a beautiful thing for me to behold.
I usually use a Leica M6 or a Ricoh GR1 series camera for street photography. Both are film cameras and quite discreet in size and appearance. The Fuji X10 falls in between the two in terms of size as shown in the following photo.
.jpg)
From left to right: Leica M6, Fuji X10, and Ricoh GR1v
I put aside a whole afternoon a few days ago to try out the Fuji X10 on the streets. I ended up shooting for only an hour because against my better judgement, I walked into a shopping centre to cool down and ended up buying 2 pairs of shoes that were on sale and selling for a third of their original price. Try shooting with 2 bulky bags of shopping in your hands. It is no fun and I did not bother trying. Anyway, on to some photographs and impressions prior to being bogged down by shopping bags.
The following are some settings I used for the shoot as well as some impressions:-
- Most of the time, I set the focal length of the camera to either 28mm or 35mm. These are the 2 focal lengths I use most frequently for street photography. It forces me to use my legs as my ‘zoom’ which is always a good exercise.
- ISO set to Auto ISO (800). The ISO settings that you choose with the X10 does not stick if you change modes (e.g. A mode to S mode) which is kind of strange. I hope Fuji will include an option to make the ISO settings stick across the various mode in a future firmware update.
- Shutter priority (S) mode with the shutter speed set to around 1/125s or slightly faster. Aperture priority (A) mode on the X10 is too unpredictable for me when it comes to the camera choosing the ISO and Shutter speed.
- The percentage of usage of the optical viewfinder and the LCD screen to frame the photographs was about 50-50. The optical viewfinder is workable but with only a 85% coverage; so it is not 100% accurate. It reminds me of looking through the viewfinder of a Ricoh GR1v camera minus the viewfinder information. I will probably continue using both the optical viewfinder and the LCD screen equally. It really depends on the shooting situation. When I use the optical viewfinder, I turn off the LCD screen. With the lack of camera setting information within the optical viewfinder, I have to turn on the LCD screen once in a while to check the settings. This leads to some irritation because currently the only way to turn on/off the LCD screen is to press the “DISP BACK” button which toggles through FIVE different LCD screen view modes! This means that if the LCD screen was off, I would have to press the button 1 time first to bring up the LCD views menu, press it another 2 to 4 times to get it to a view where I can see the camera settings, check and modify (if needed) the settings, and finally, press the button another 2 to 4 times to turn the LCD off. Needless to say, it is a real hassle. I hope Fuji will release a firmware in the future to allow the “RAW” button at the back of the camera to be customized to toggle the LCD screen on and off. Just 1 button press to turn on and 1 button press to turn off!
I have not played around with the RAW files (still no RAW support from Lightroom or Capture One at the time of this post) from the X10 yet but did manage to see how the JPEGs fare in printing. The files out of the camera at full resolution can print around 13.3 x 8.9 inches without the need to resize or up-res the image. My test to see how good the files out of a camera are is to see how well they look printed out large (nothing smaller than 12 x 8 inches). I decided to push the X10’s files a bit and enlarged the JPEG files to print at 18 x 12 inches which is about the maximum I would normally print my photographs. I was very happy with the results and would not hesitate to do large prints out of this camera. I would think that the RAW files would do even better.
.jpg) A Fuji X10 image printed at 18 x 12 inches. It is hard to tell from the photo the size of the print as there is nothing to compare it against. The printer it sits on is an Epson 3850 which prints up to A2 size prints and measures about 27 inches wide.
A Fuji X10 image printed at 18 x 12 inches. It is hard to tell from the photo the size of the print as there is nothing to compare it against. The printer it sits on is an Epson 3850 which prints up to A2 size prints and measures about 27 inches wide.
In conclusion, the Fuji X10 works pretty well for me in the area of street photography. I am still getting used to the camera and have not found time to read the manual yet. I have definitely had fun shooting with the camera. I hope there are some usability improvements that Fuji will implement with future firmware updates. It is still a bit too early to tell but there is quite a high likelihood that the X10 will replace my Leica M6 and Ricoh GR1v cameras as my go-to-cameras for street photography. 8)
[This article was first posted on The Invisible Photographer Asia on 20th November 2011]
